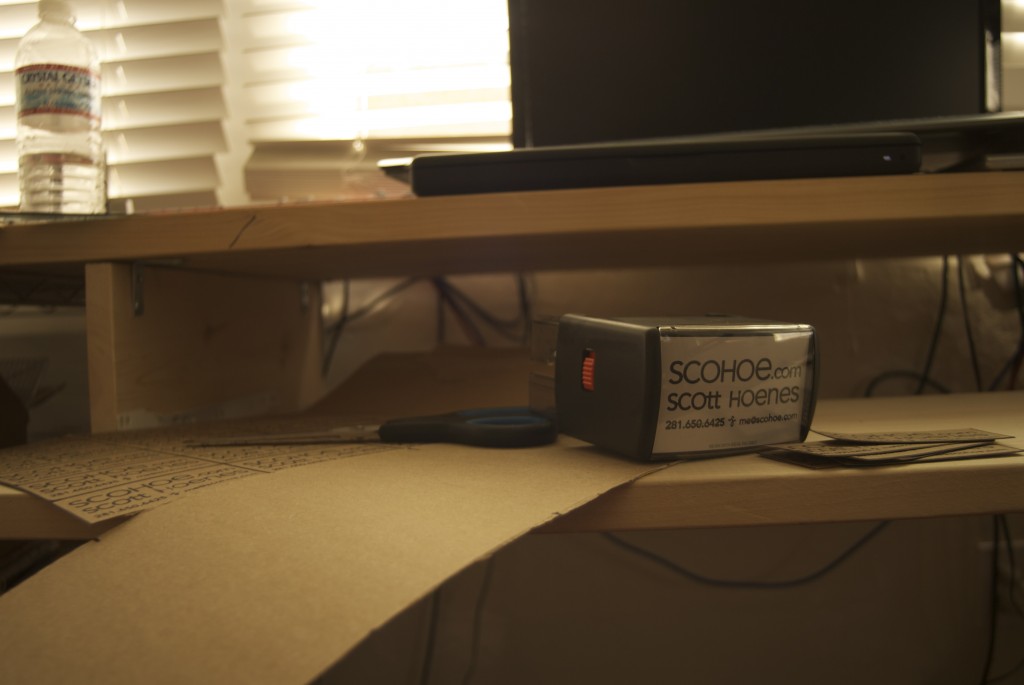
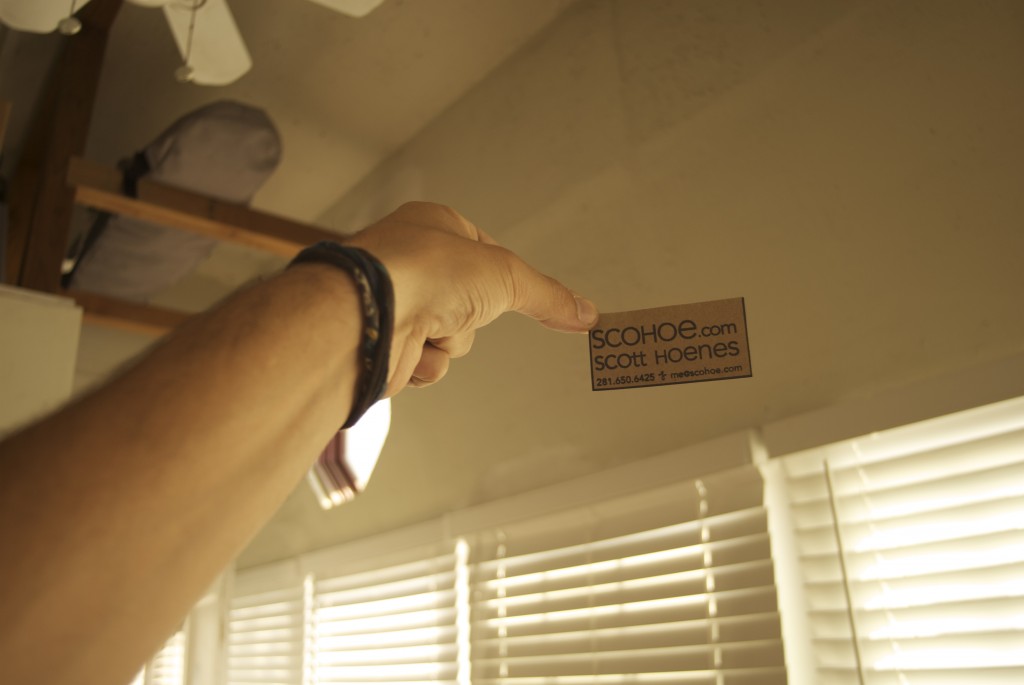
When I ordered my latest pair of Pirate Sandals, Kevin threw in a few CardHippie business cards as well, and I thought it was an awesome idea when I saw it, after a little more searching, I found this helpful DIY thanks to Eco Etsy. So I went about the following steps sand now have a fresh new recycled card, I feel good about using my trash for something useful, I have a hard time throwing anything away, so it helps if I can make use of some of the things I keep around.
Step 1: Make Design

Obviously you need to start with you design, you want to remember that you’re making a stamp, so you can focus on clearer letters, thicker lines, making sure it’s a very clean and legible, because the stamp can leave a thick blob of ink on too fine of a design, smudging your design and leaving you upset.
Step 2: Order Stamp

You can do your own research if you want, I went with Ideal 300 from Rubber Stamp Champ because for some reason or another I thought I needed a self inking stamp, upon receiving my stamp and making my first round of cards, I can say that I will order a HandStamp once this one dries up on me, the self inking is nice for doing a lot of cards at once, but its hard to control the precision of the stamp and how much ink is being transfered, also you can’t change the color of the ink. So I would recommend going with a traditional hand stamp for something that will last longer, then again, if you plan on changing you card design every so often then it doesn’t really matter either way, order what you think is easiest for what you have in mind.
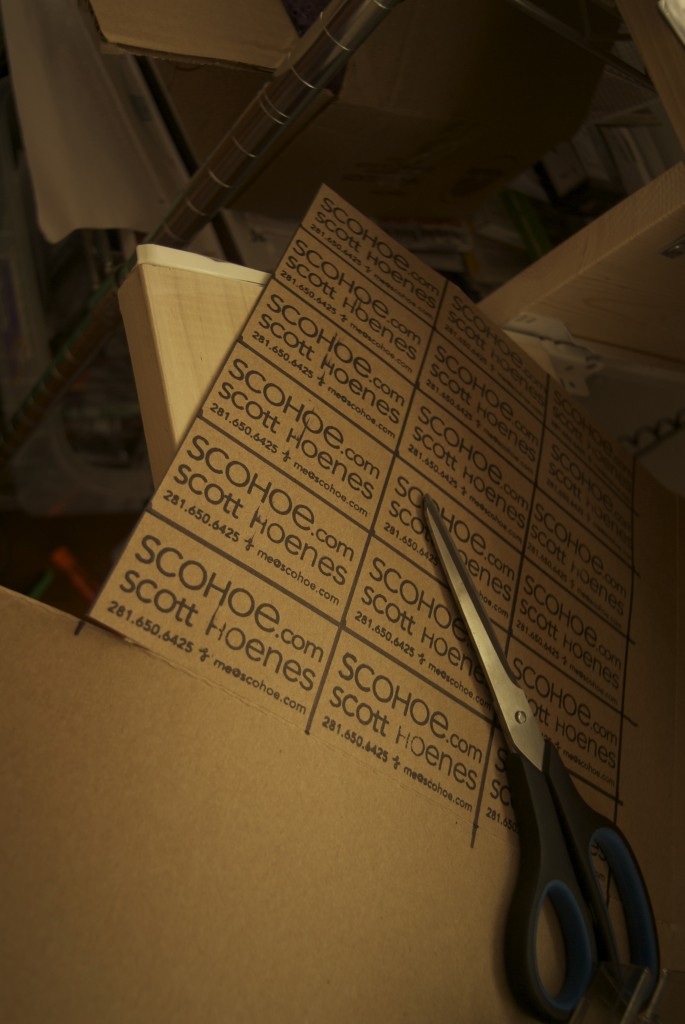
Step 3:Draw, Stamp, Cut

Draw your outlines, stamp within those outlines, and cut according to those outlines.

You’re done, in 3 steps you have a never ending supply of business cards(as long as you have some form of thin cardboard material lying around).
Let me know how it works for you, and if you know any place I should be ordering my stamps from.


